Hello.. congratulations. You are actually on our blog. This whole million dollar producing website is built on this blog platform.
In fact in this post, I will share 16 comprehensive steps to starting and setting up your own blog.
This can mean an additional $1,000 or $25,000 per month income in your business; that depends on what you sell and what kind of business you are involved in.
First of all, Why should your start a blog?
You should start a blog because it’s your single most important way to build a list, an audience, influence, credibility, brand, authority and brand in your market place.
Count them; they are 7 benefits in number that will essentially take your return on investment in any type of business through the roof and beyond.
With that being said, here are the 16 simple steps to start your blog….
Step 1 – The Best Host in the Market
There are many platforms where you can host your blog website.
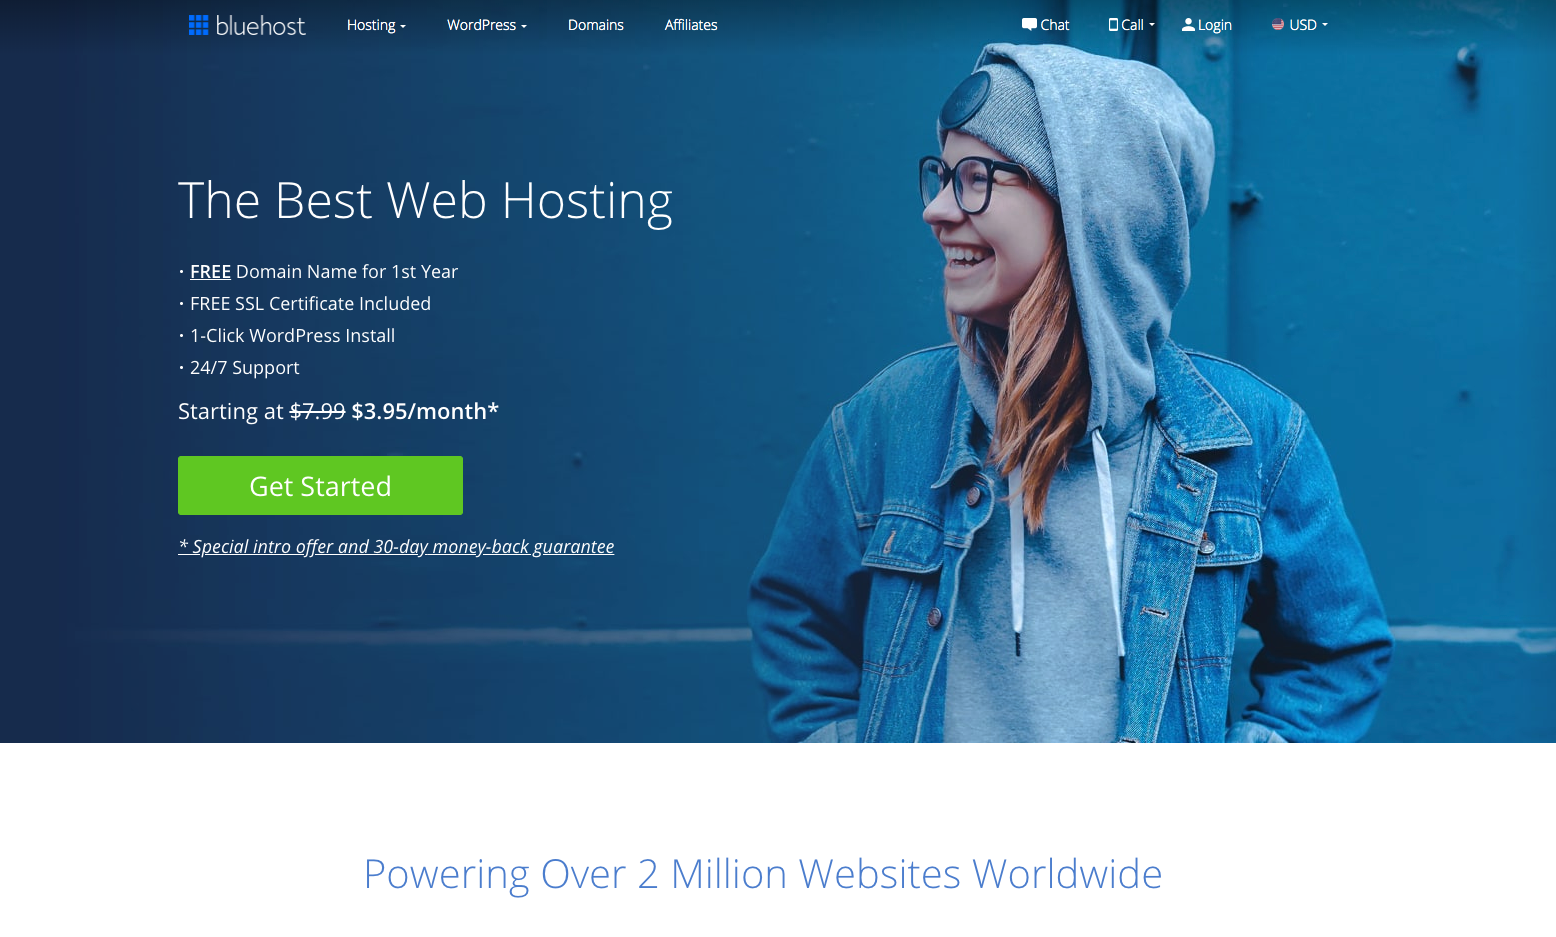
However, after years in the business of marketing on the internet, I have found bluehost to be best in terms of easy in setting up and running in just a few minutes.

When you are ready, click here to see additional features that will essentially make it even easier and simpler to start a blog and start making money.
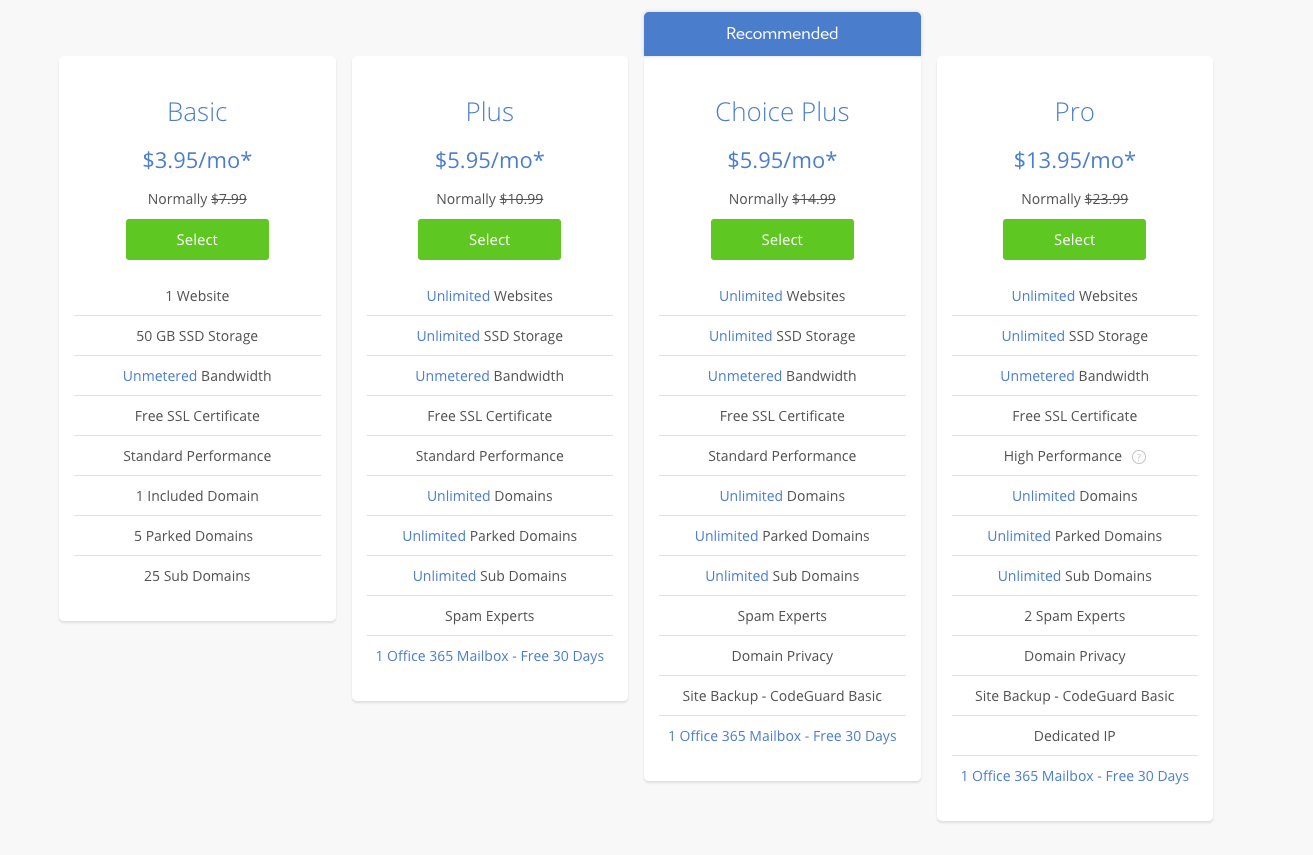
Step 2 – Select Plan
They have a few options and plan at extremely affordable prices starting from as low as $3.95.
All you have to do as step 2 is to select the plan that best fit your budget and desired savings.
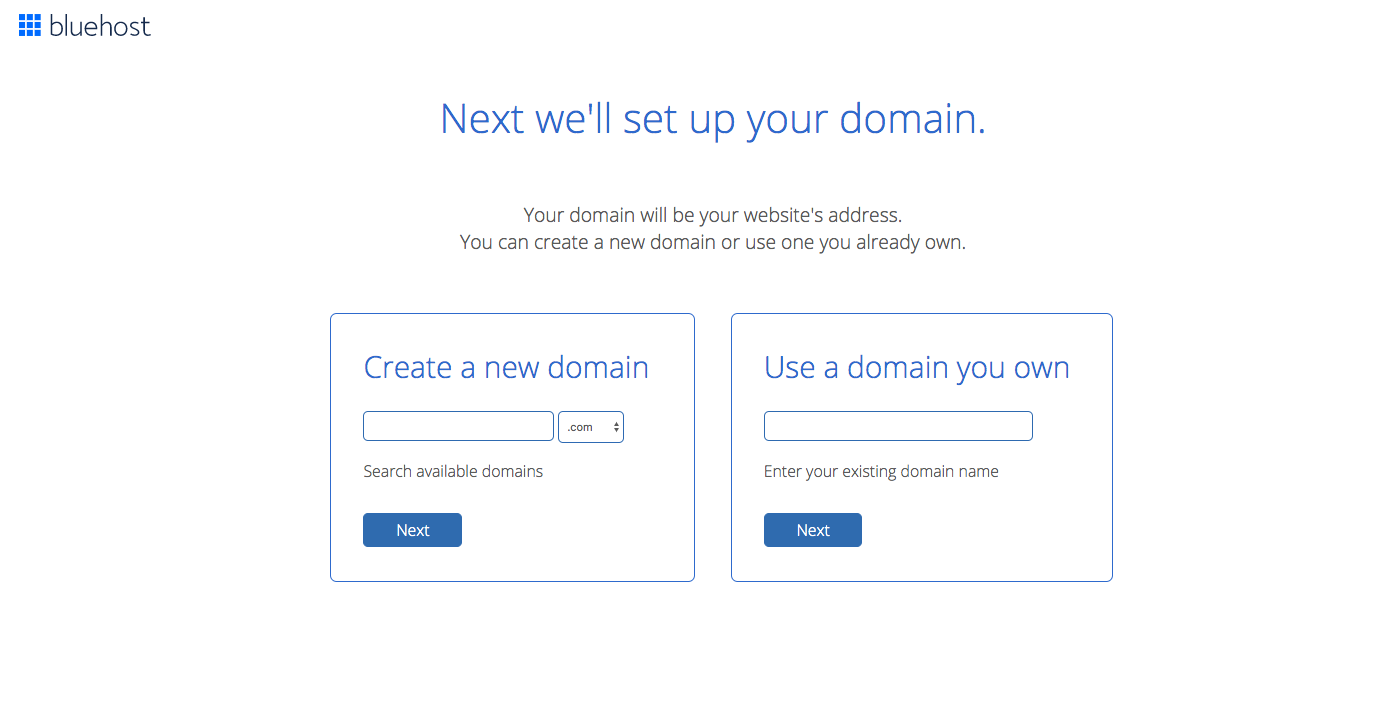
Step 3 – Set Up Domain
What is a domain? Once you follow this steps to setup your blog website, your audience will have to type in a website URL address to access it from their web browser.
The address they type in to access the home page is what is referred to as the domain name.
For example, the domain name of this website is www.myEmpirePRO.com
Your domain name can also be derived from your personal name; in fact, that’s what I recommend if you are setting up a blog website for the first time.
If your name is “Mary Smith”, your domain name will be www.marysmith.com It brands you and re-inforce the fact from studies that people buy from people.
So the next step is to setup your domain name as seen below…
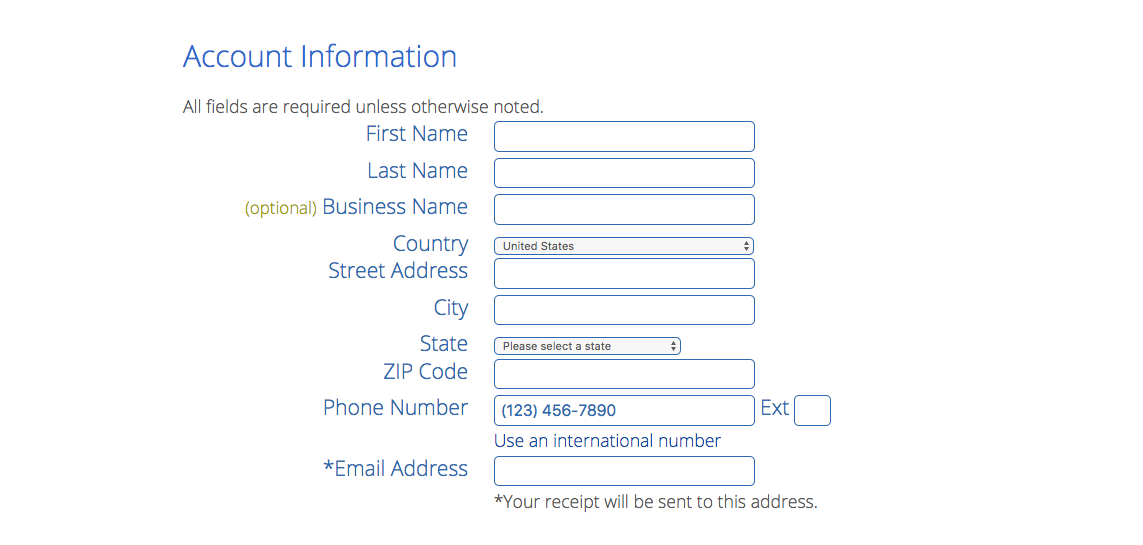
Step 4 – Fill out Account Info
The next step is to setup you web-hosting account information. As you can see, you do not have to have an existing business.
No worries, the information you complete here is only bluehost and not for the public to see. Go ahead and complete the information to the best of your knowledge.

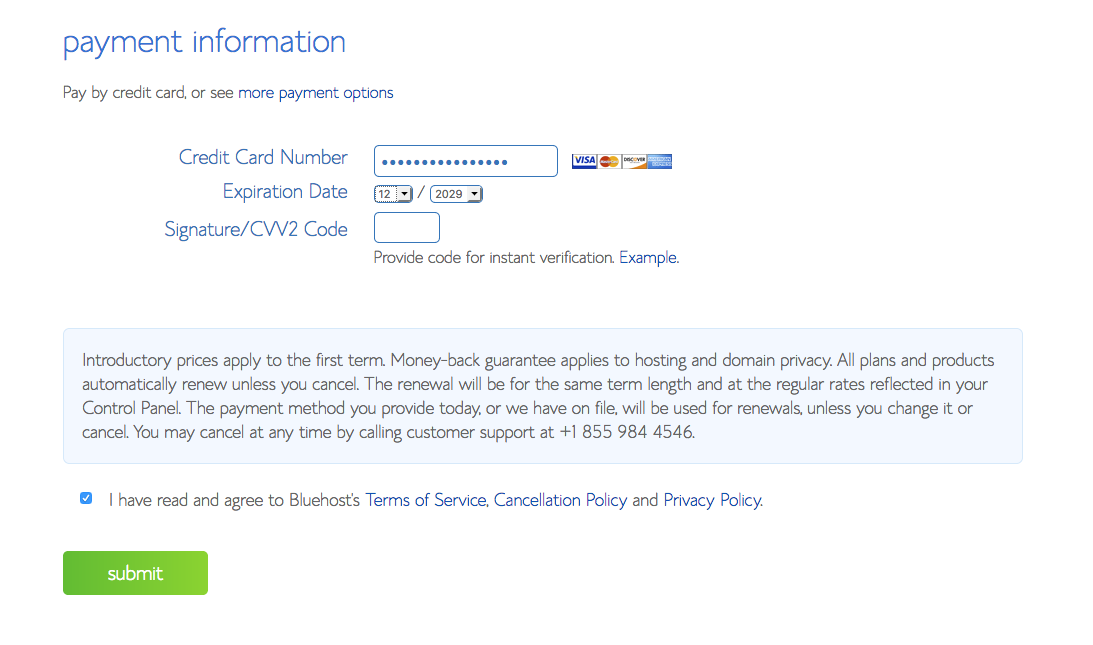
Step 5 – Payment Info
At this stage, you have to fill out the form with payment information.
By the way, there are free blog options how there but keep in mind you always get what you pay for.
It’s best for you to self host your blog under your own brand to keep your content safe as much as possible; especially when it cost pennies to do so.
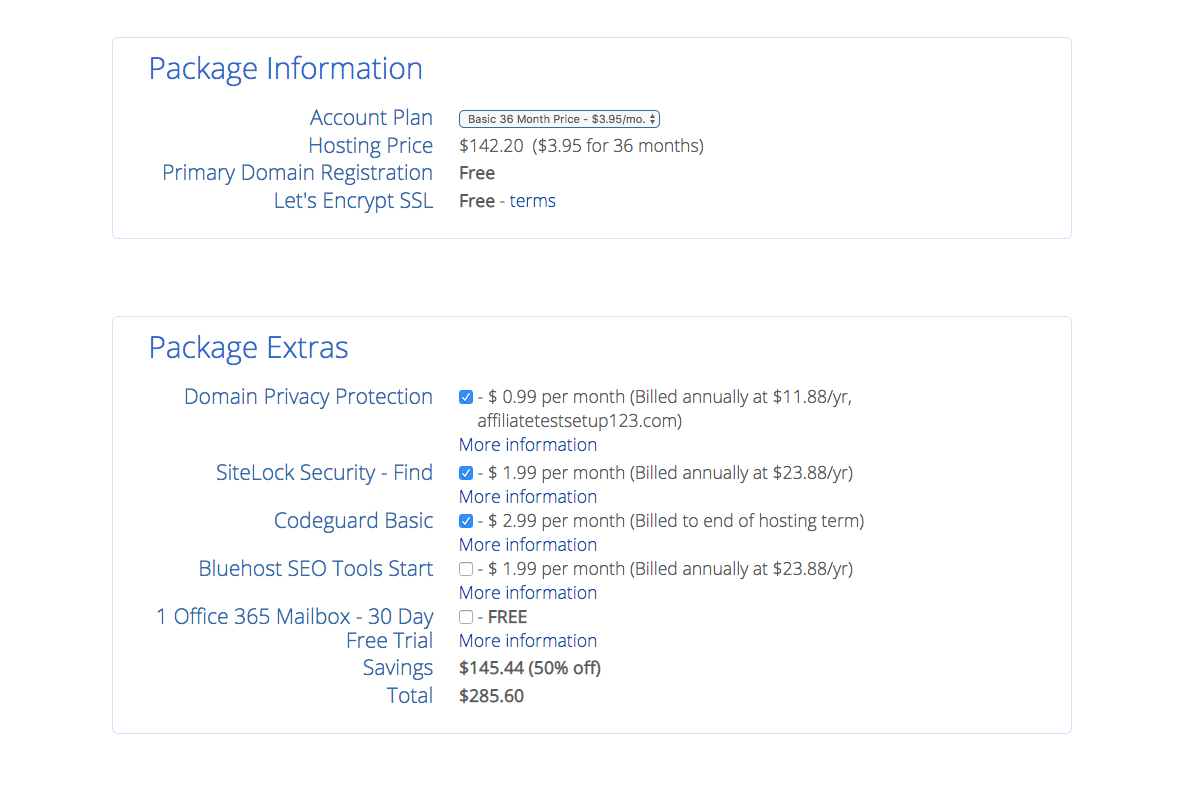
Step 6 – Pick package and options
Note here that, blue host is given you an opportunity at this step to not have to worry about monthly payment.
They also present other available opportunity to help protect your online property.
Pick the ones you want and move on to the next step in setting up your blog.
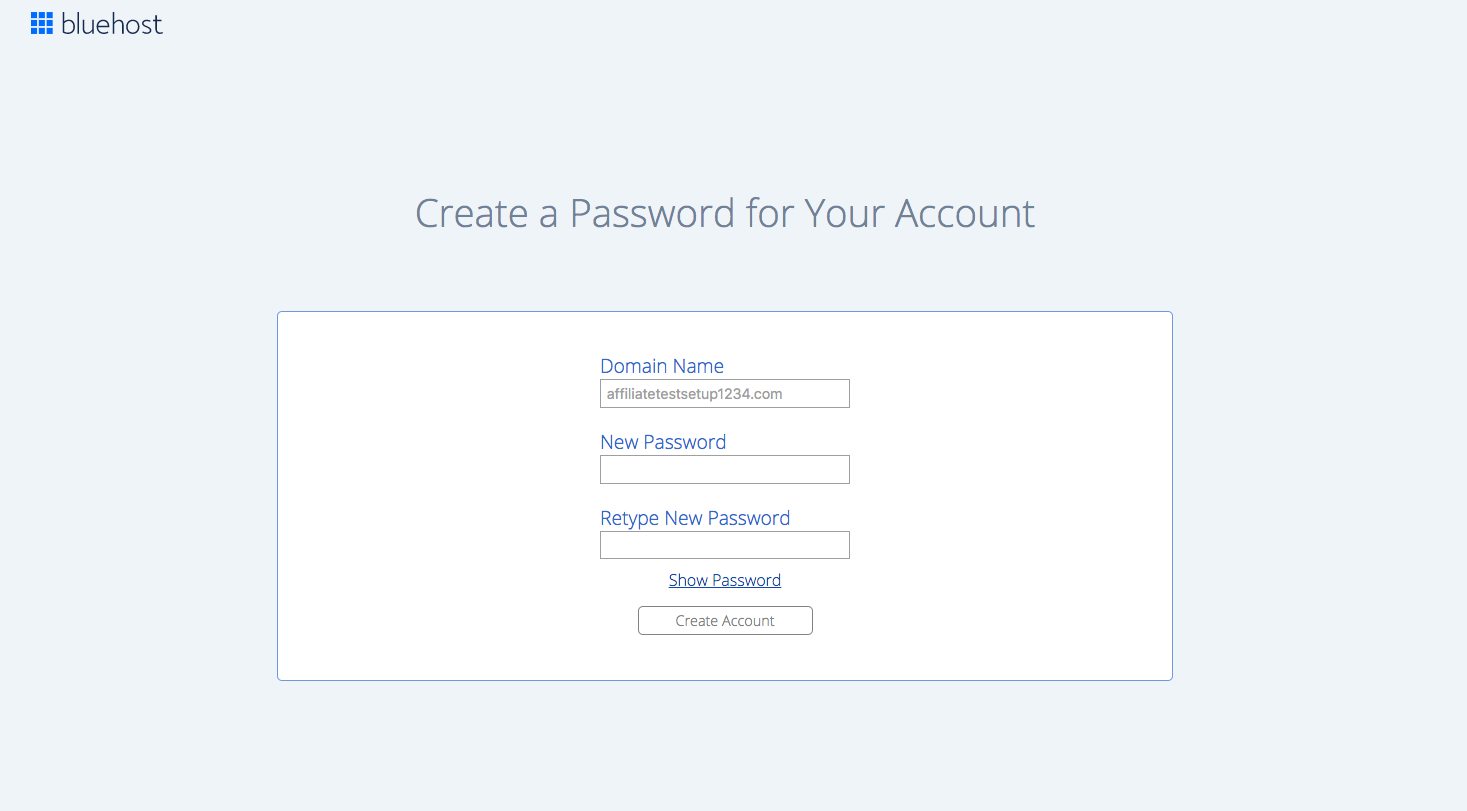
Step 7 – Create Password
Make sure that your password is strong (i.e including a small cap, big cap and numbers).
Also write it down in a safe place because you will need to reference it anytime you want to edit a blogpost or a landing page on your blog website.
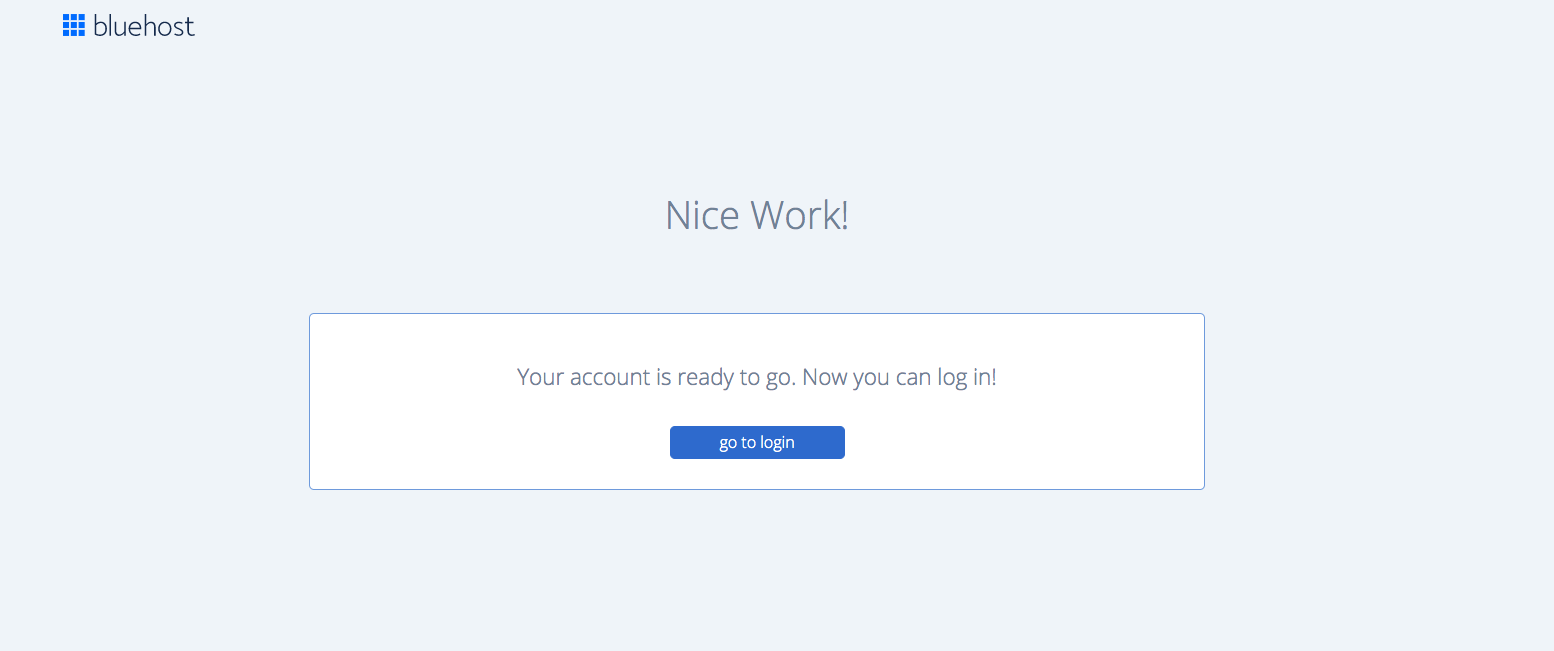
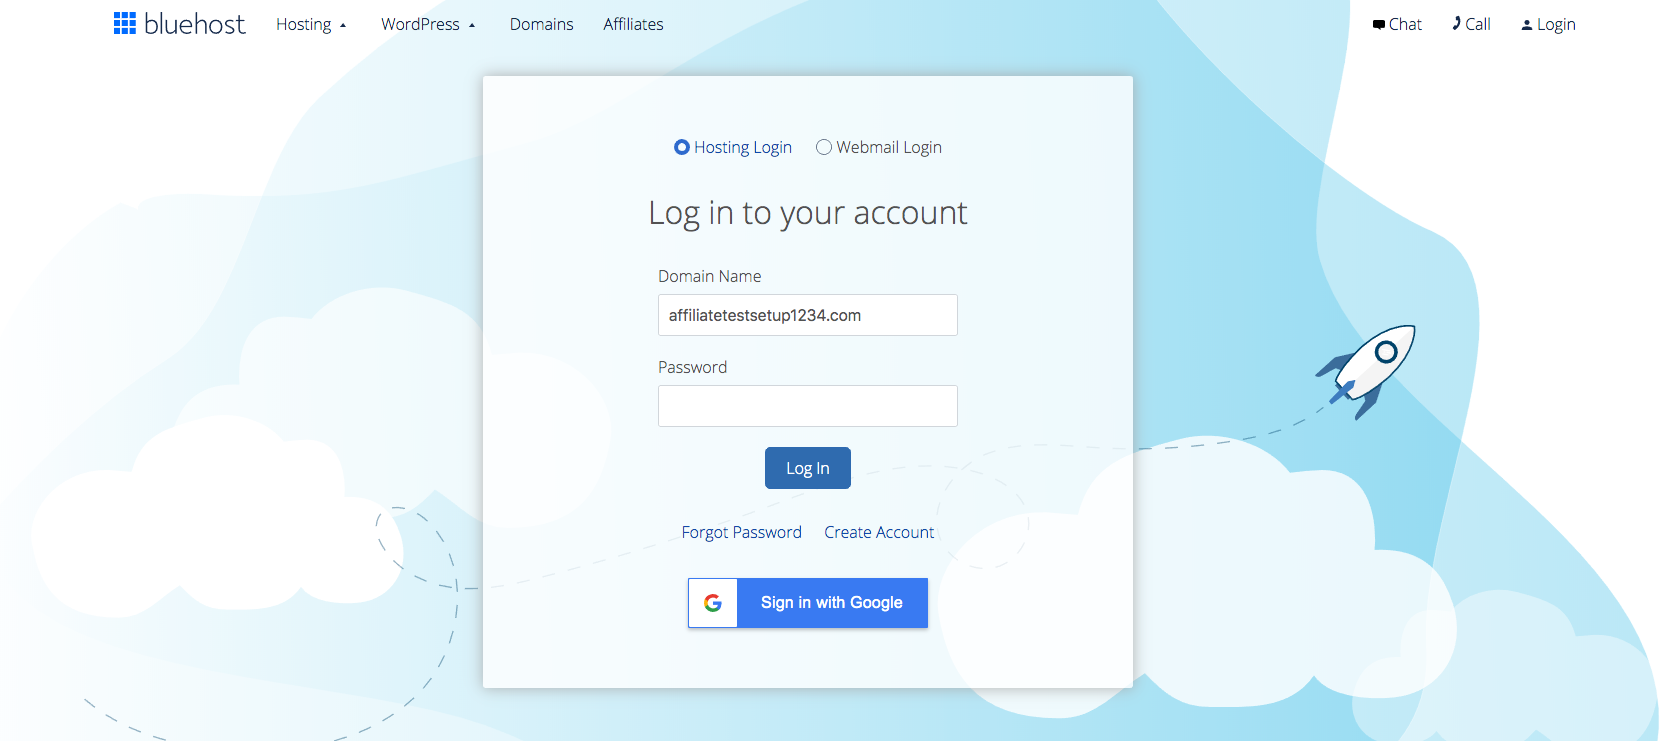
Step 8 – Login
Go ahead and click the blue button to access your new bluehost account.
Step 9 – Use new password
Use your new domain name and the password you just created 2 steps ago to login now in order to access your bluehost dashboard.
Inside, they also reveal additional opportunities to make the journey smooth.
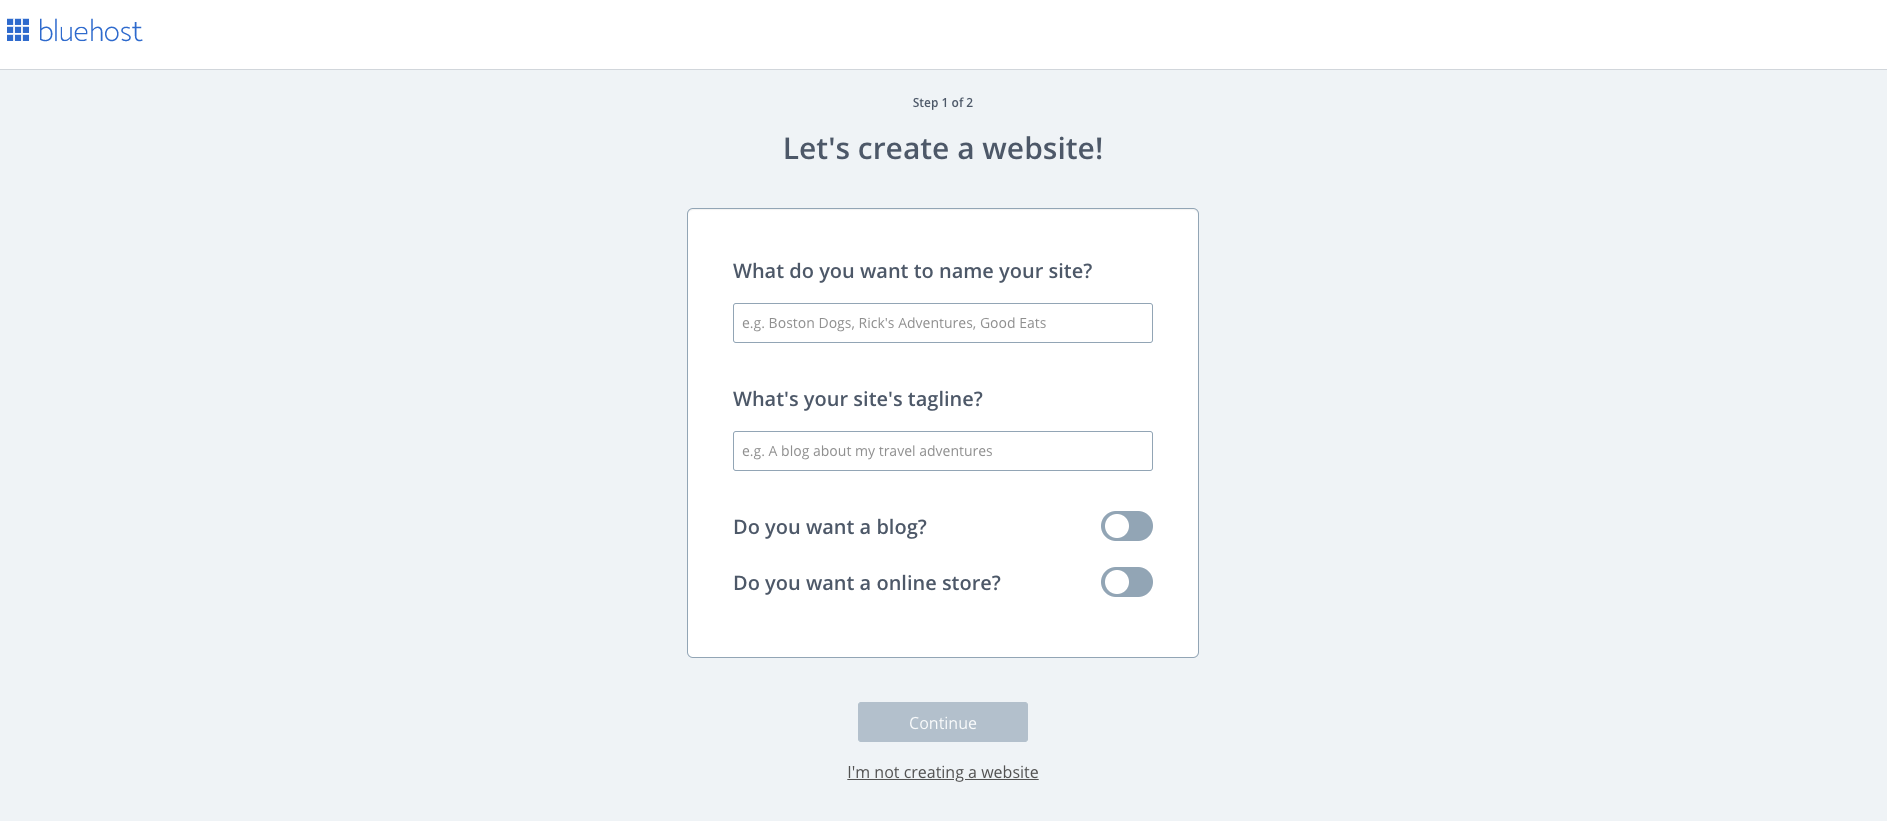
Step 10 – Name your website
This is not necessarily the same as your domain name. In this step, you will assign a name or shorty name phrase that your website and/or business is known for.
For example, our website is know for “Internet Marketing” and more importantly “Smart Real Estate Wholesaling”.
Fill it out and click continue…
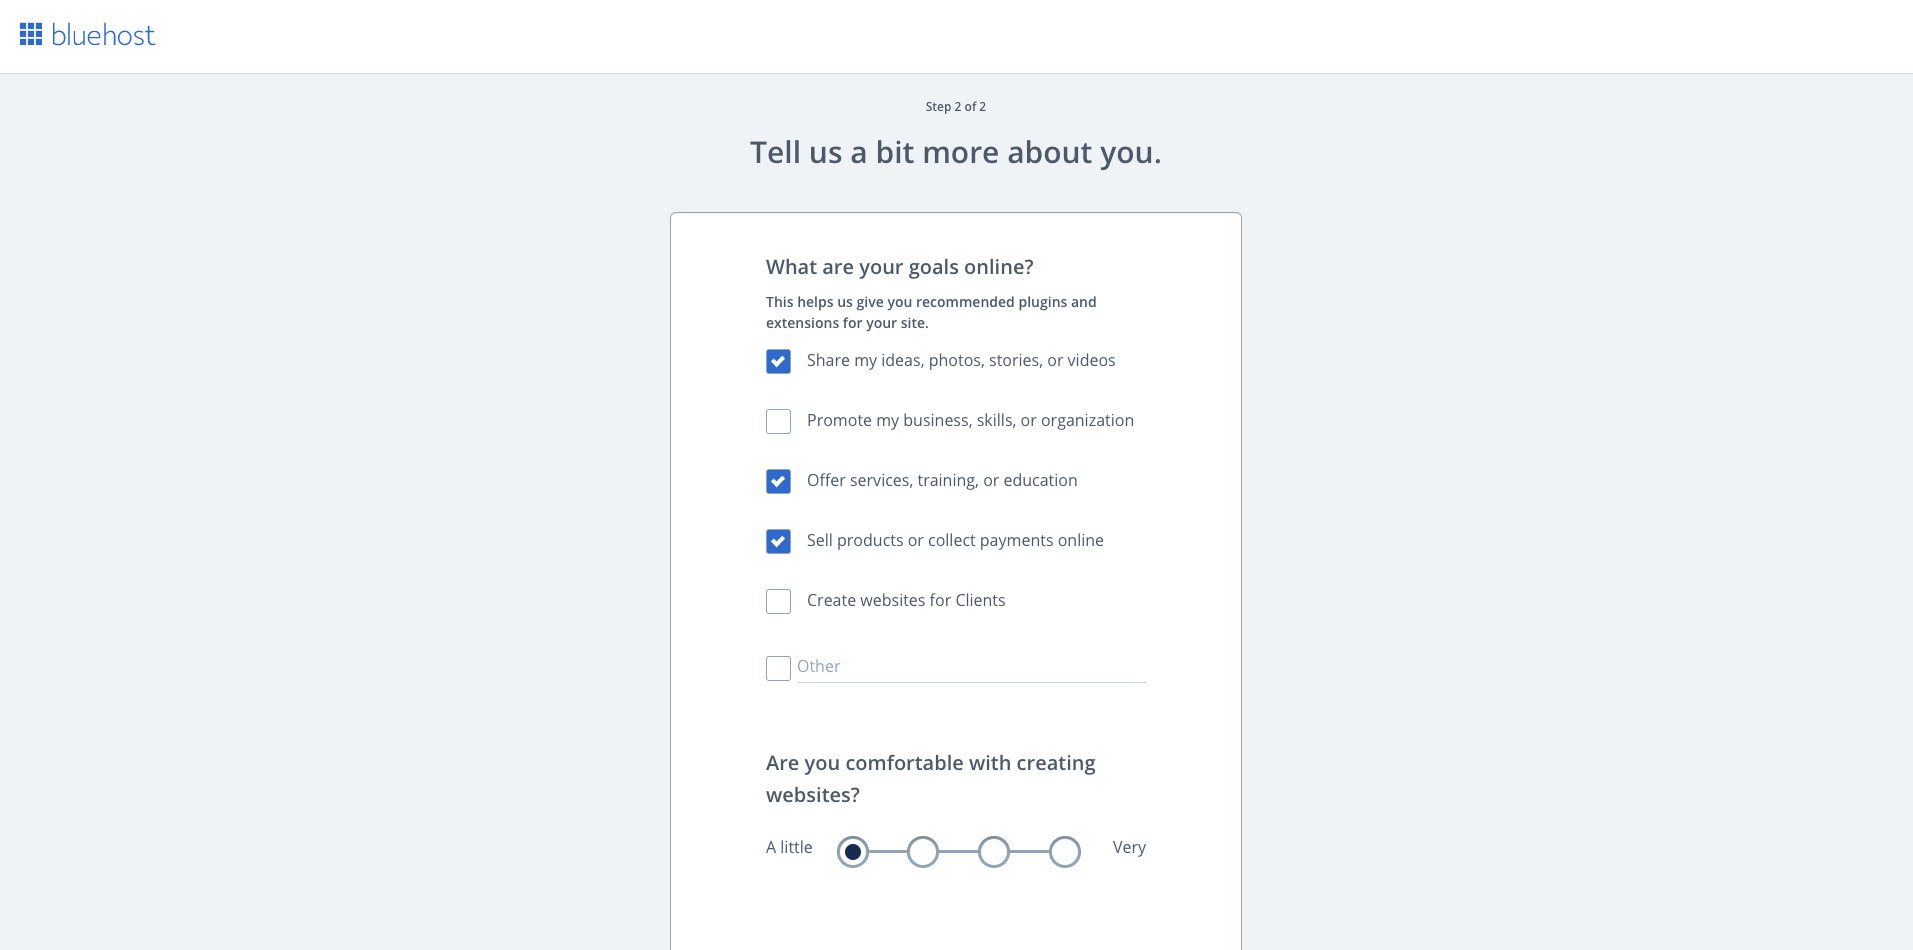
Step 11 – Select Your Website type
At this step, simply pick the type or category that best describes your business.
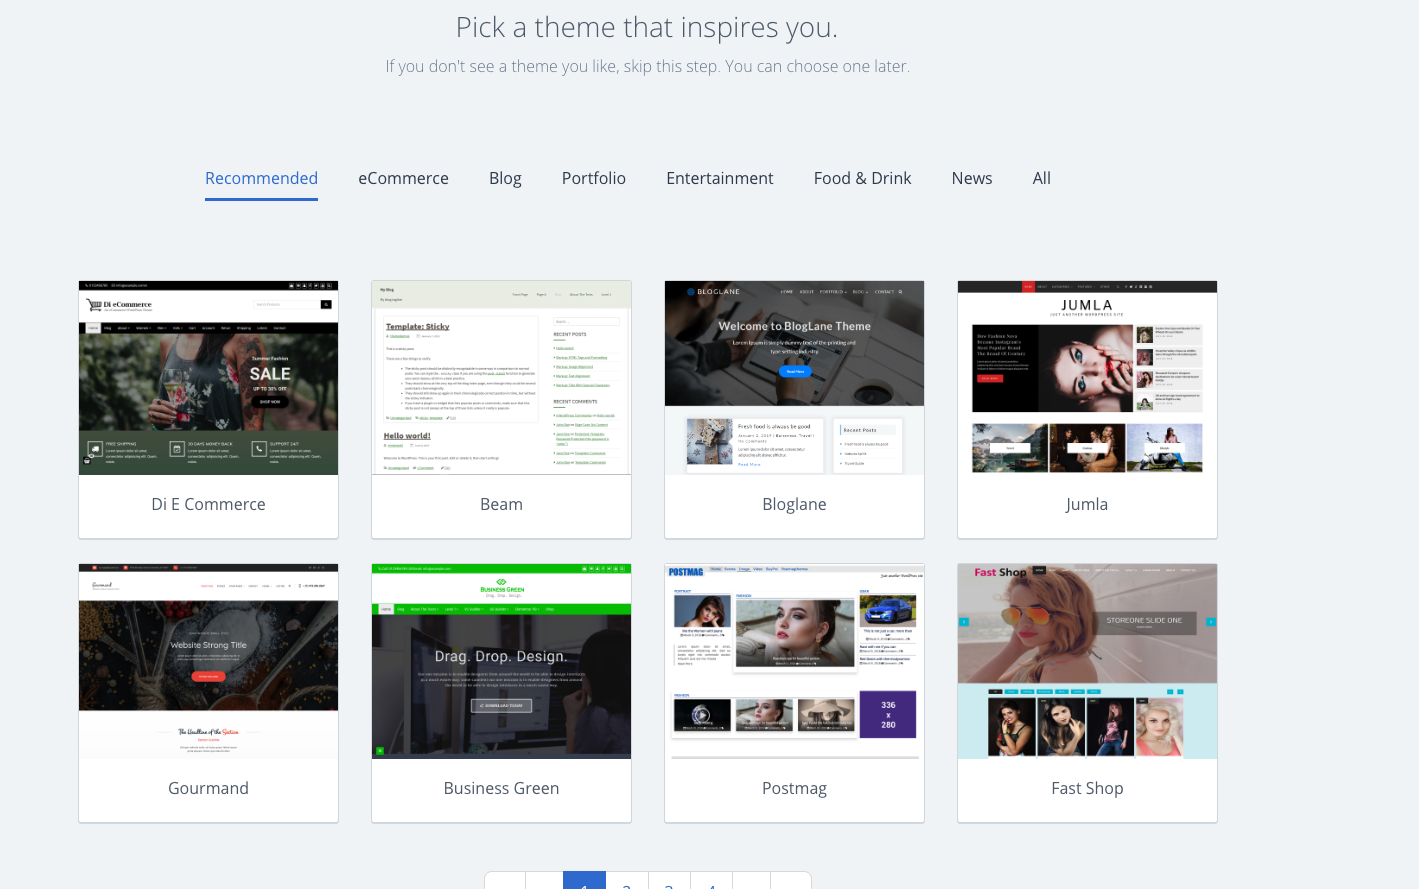
Step 12 – Pick a theme
It’s time to pick the visual feel of your landing pages and blog posts. These are pre-designed templates and themes that will allow your blog to look most professional starting today.
Step 13 – WordPress Auto-Install
The beauty about bluehost is the fact that they eliminate so many technical traditional steps of starting a blog without compromising anywhere.
As you can see if you have been following, your full WordPress blog is being setup and installed for you using the information your provided.
Step 14 – Start Building
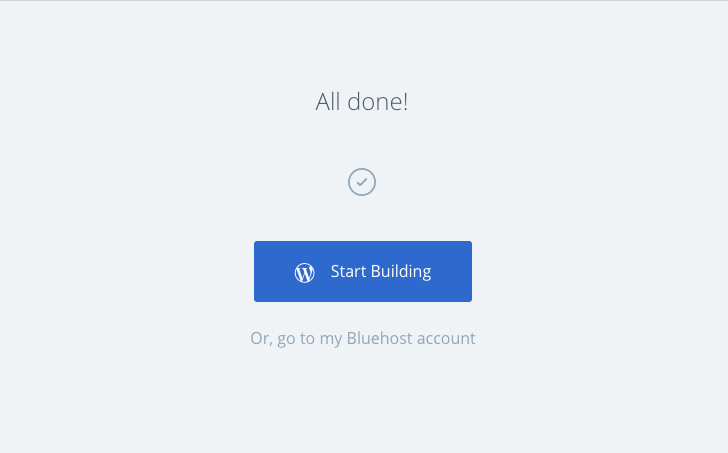
Once it’s done, you will be notified. All you then have to do it add your value to your new blog website by clicking “Start Building.”
Step 15 – Bluehost cPanel
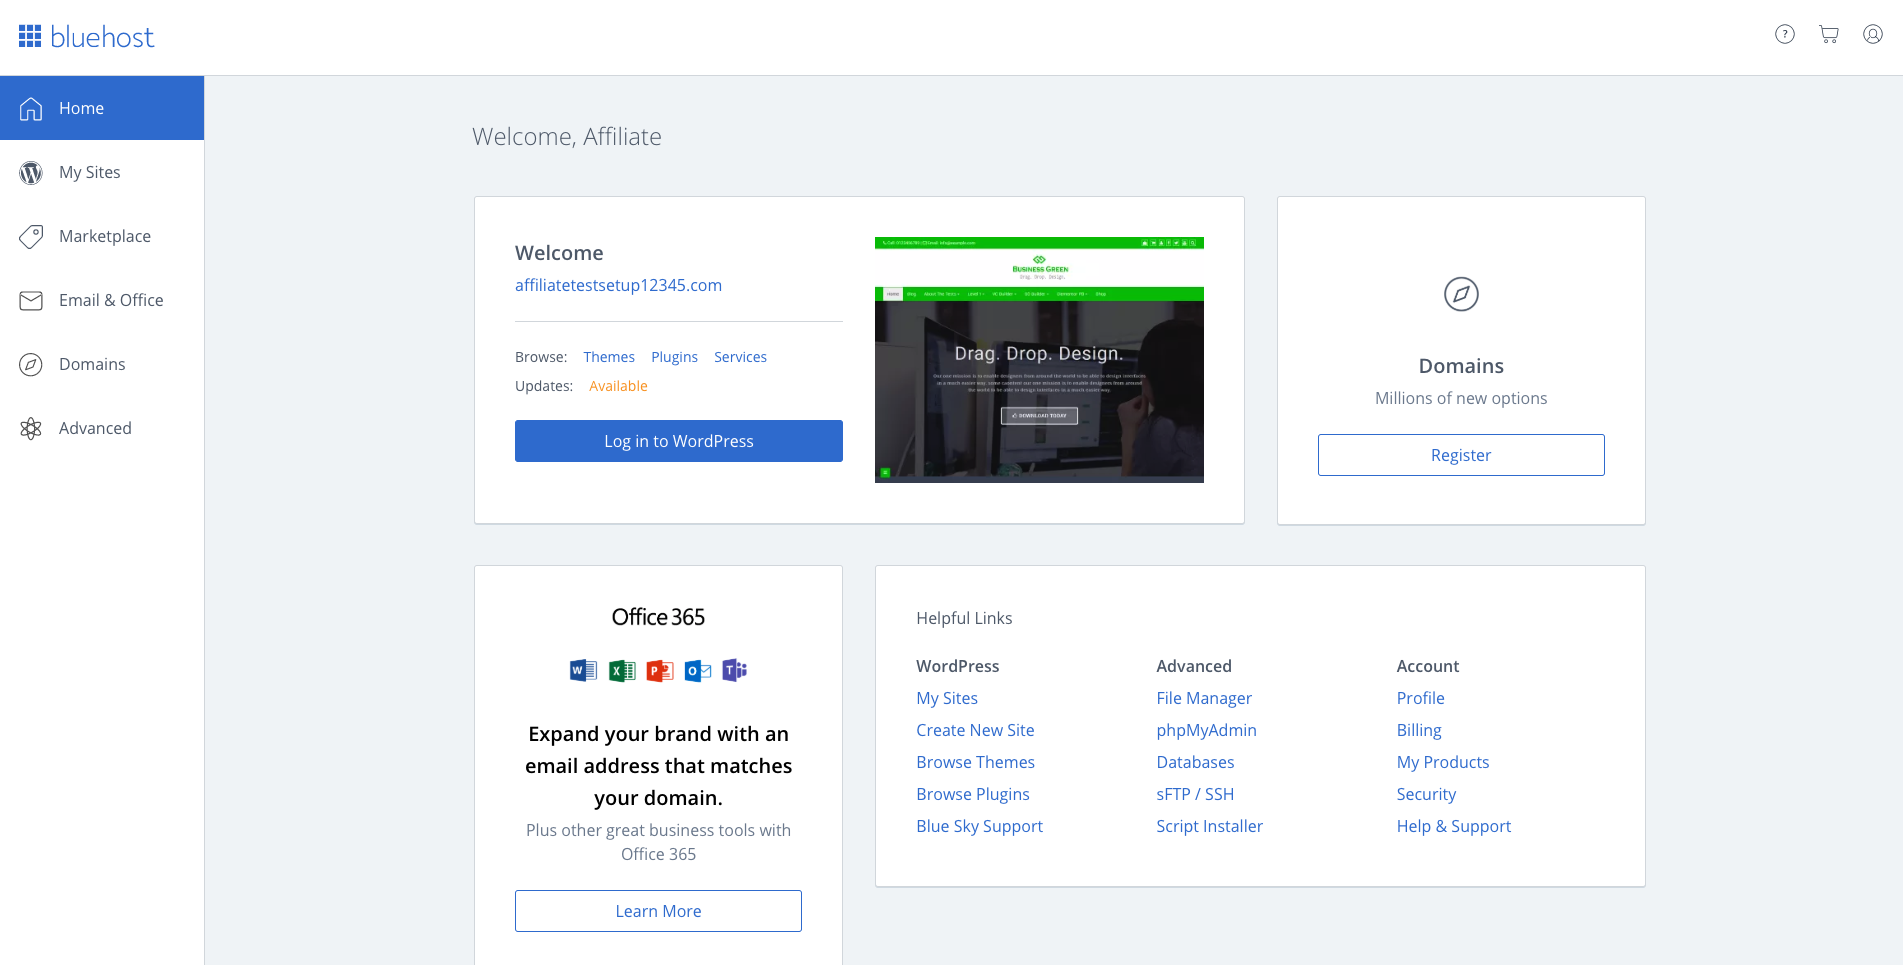
Once you are inside your bluehost control panel, you can click on “Log in to WordPress”.
Step 16 – WordPress Tools
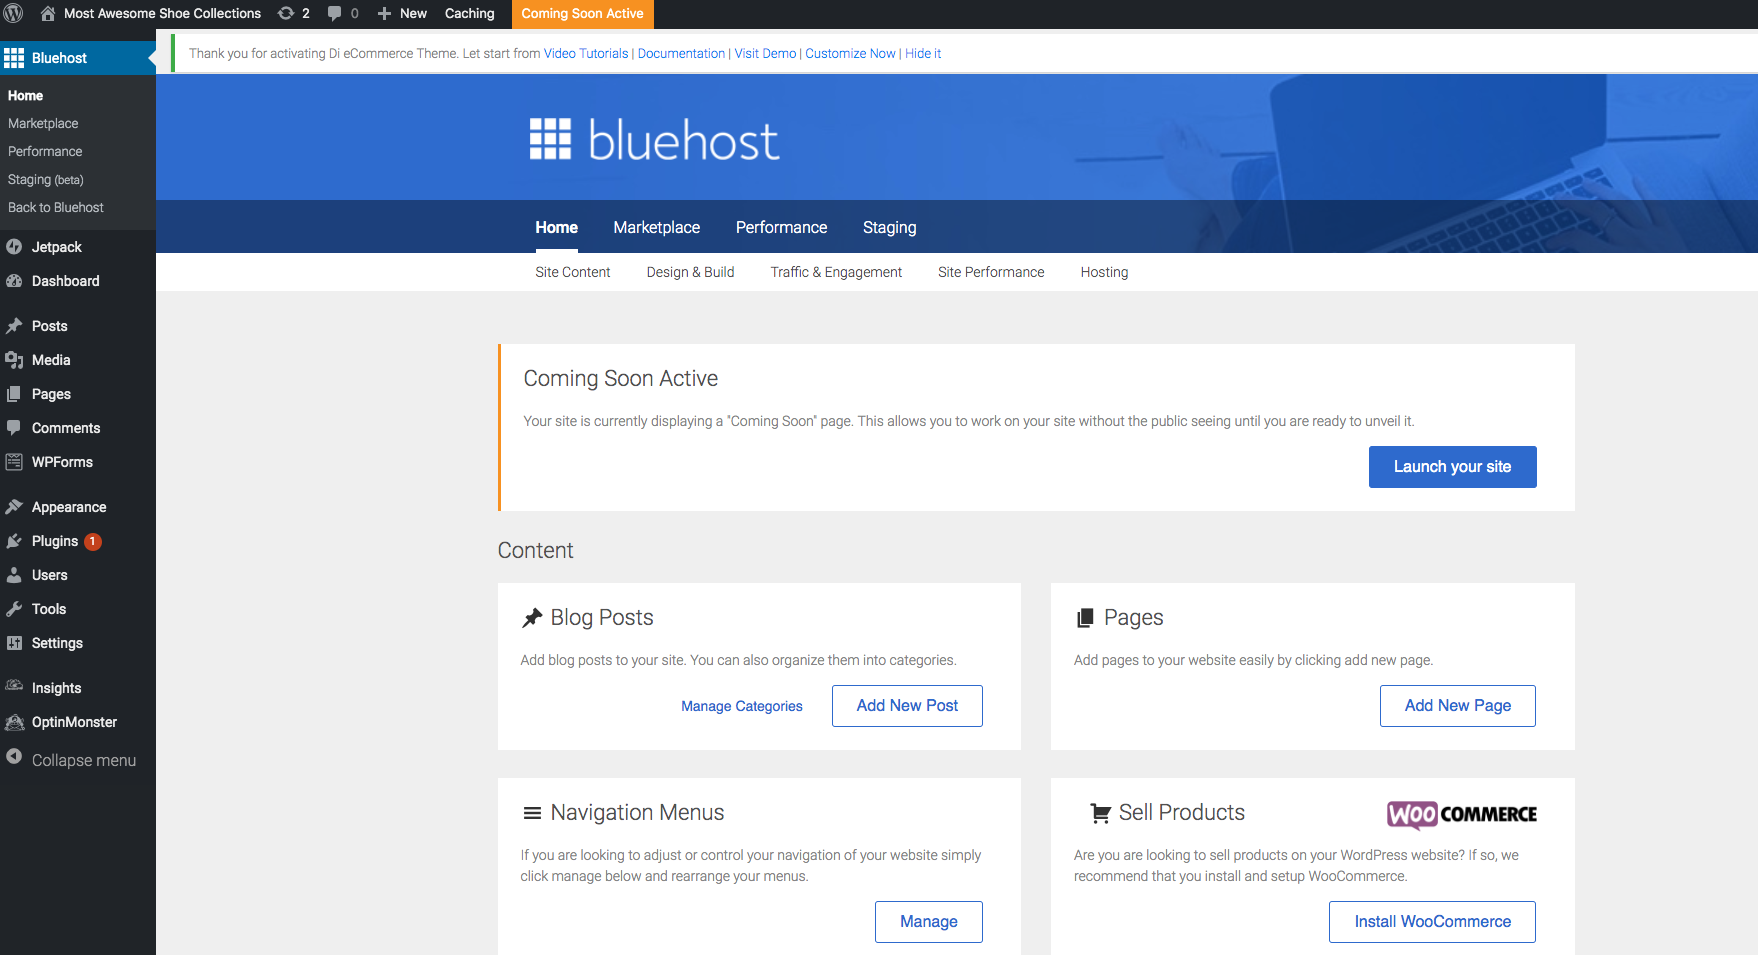
Inside WordPress dashboard, you will be able to add landing pages, blog posts, plugins for additional functionalities and more.
I hope this was good enough to get your going. You will notice that there even more opportunities to learn and take advantage to build your business; whatever that is.
Again, you can access bluehost here…
If you don’t have any business yet, check out smart real estate wholesaling business model here for free.
